The Rainbow Cake. Do you want a slice of the action?
The Rainbow Cake
Prep time: 20 minutes Cooking time: 30-45 minutes
Ingredients:
4 medium sized eggs
8 ounces of Self-Raising flour
8 ounces of caster sugar.
8 ounces of butter or margarine
The juice of one lemon
Red, Orange, Yellow, Green, Blue, Indigo and Violet food colouring.
Method:
 |
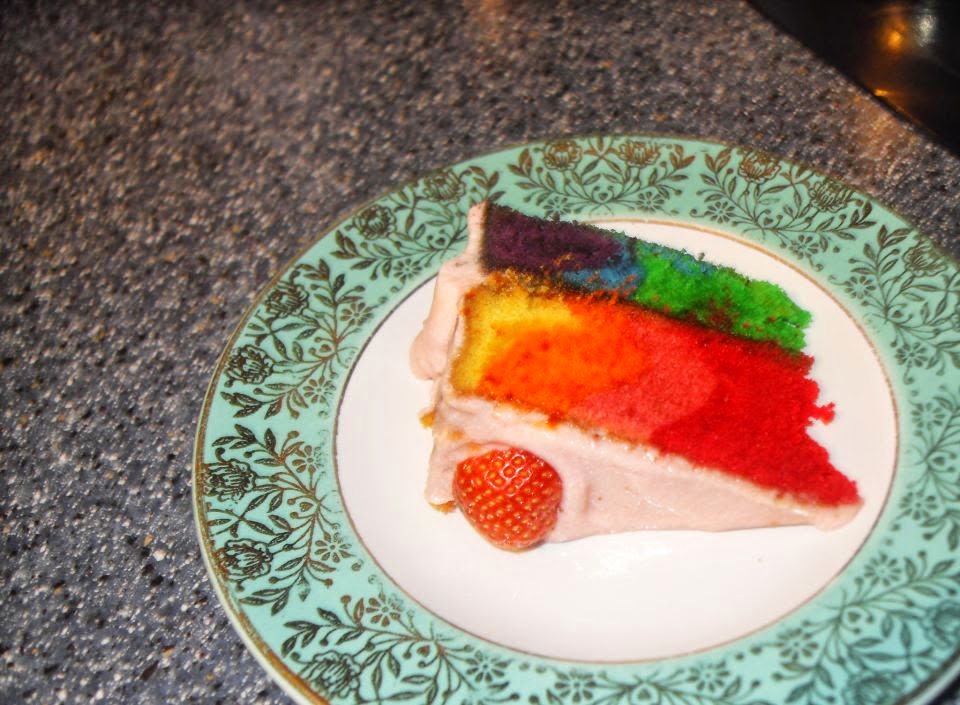
| Really simple Angel Delight frosting and strawberries |
2. Next, add in your flour gradually. I prefer using a sillicone spatula first to fold in the buttercream with the flour. If you go head first with a hand-mixer, your kitchen is going to be covered in flour.
3. After ths, crack open your eggs. (I just do it in the weighing scale dish), and add two eggs at a time. Fold these eggs into the batter almost as if you're massaging it into the mixture. Once this has formed a proper batter, add in the 3rd and 4th eggs. This will ensure that the mixture will not curdle with egg-overload :)
4. Then, with your hand-held device, mix the batter. Ideally, you should aim for a thick, gloopy consistency that falls off the spoon satisfyingly. It should be smooth with no flour balls bursting as you mix, and with no egg yolk peeking through.
5.Divide the batter into 7 bowls. Gloop the mixture out into them equally, and this is where ROYGBIV comes in handy. Add the food colouring to the plain batter.
6. Then get your two sandwich tins. Add the warm colours to one and the cold to the other. When you add the first colour, add all of its batter in one blob, then folow on with the other colours making rings around it. Just where the two colours meet, run cocktail stick through it so it waves into the other colour. Bake at Gas mark 6.
 |
| The cupcake cases also look great once you've scoffed the cake :) |
8. Pierce the centre of the cake with a knife just to see if it's cooked as the knife will come out clean. Let the cake cool naturally by taking it out of the oven and placing on a cool worktop. Sandwich both cakes with whipped jam.
Et Voila...happy baking


Comments
Post a Comment